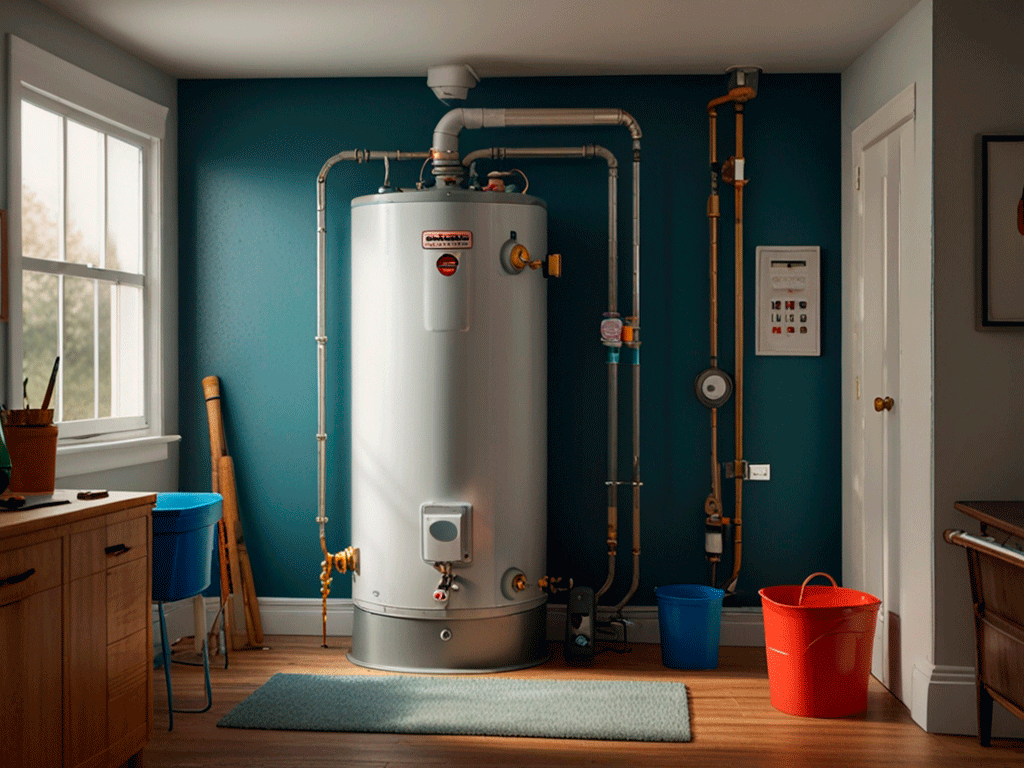
A water heater is an essential part of a household, and its functionality can greatly affect the comfort of your home. However, they can only last for so long before they need to be replaced. If it’s time to replace your water heater, you may be wondering where to start. In this article, we’ll provide you with a complete guide to help you determine the best course of action and fully understand the process of replacing your water heater.
Asses Your Current Water Heater
Before deciding to replace your water heater, you’ll need to take a closer look at your current water heater. This means you will need to inspect your water heater and determine if your existing unit could be repairable. Some common signs of a broken or failing water heater include strange smells or sounds, leaks, and fluctuations in water temperature. Additionally, if your water heater is over 10 years old, then it’s likely time to replace it.
Determine What Type of Water Heater Is Right for You
There are several types of water heaters to choose from, each with their own pros and cons. The most common type is a tank-based water heater. These units store hot water in a reservoir and distribute it to your home as needed. Tankless water heaters, on the other hand, heat water on-demand. These units are more energy-efficient but can be more expensive. Lastly, heat pump water heaters use the surrounding air to heat the water. Consider your energy needs, budget, and the size of your home when deciding which type of water heater is best for you.
Allocate Your Budget and Time
After determining the type of water heater you’d like to install, it’s time to establish how much you’re willing to spend. This will also help you make decisions on when to DIY and when to hire a professional. Some water heaters can cost over a thousand dollars. Additionally, you may need to allocate time for learning what’s necessary to install your new water heater and for the installation process.
Gather Necessary Tools and Materials
Before replacing your water heater, it’s important to have all the necessary tools and materials at your disposal. This includes a pipe, a wrench, plumber’s tape, a torch, and pressure relief valve. Make sure you have all the parts and any additional materials you may need such as copper tubing, PVC pipe, or electrical tape.
Turn Off the Gas and Water Supply
Before removing your old water heater, make sure you turn off both the gas and water supply. To turn off the gas, locate the gas supply valve for the water heater and shut it off. Once the gas is turned off, you’ll need to drain the water from the heater. Turn off the supply valve and open the nearby spigot to drain the water heater.
Remove the Old Water Heater
Once the gas and water have been turned off, it’s safe to remove the old water heater. If you have a tank-style water heater, you’ll need to disconnect the water lines and remove the gas line and vent. If your old water heater was a tankless or heat pump unit, then the process will be similar. Make sure you follow the manufacturer’s instructions to safely remove the unit. Additionally, you’ll need to remove any hardware such as brackets, valves, and controls before installing the new unit.
Install the New Water Heater
With the old unit removed, you can now start installing the new water heater. Begin by following the manufacturer’s instructions for mounting and connecting the new unit. Be sure to use the proper hose clamps and thread tape and double check that all connections are tight. If your new unit requires electrical connections, make sure you turn off the power at the main breaker and follow proper installation techniques.
Test and Adjust Your New Water Heater
Once the new water heater is installed, you’ll need to test the connections and make sure it’s working properly. To do this, first turn the water supply back on. Then, turn the gas supply on and light the pilot for tank-style units. For electric units, turn the power back on. Make sure you check for any leaks, strange smells, or sounds and adjust the temperature settings as necessary.
Tips and Tricks for Replacing a Water Heater
Here are a few tips and tricks to make replacing your water heater easier and ensure it’s done correctly:
Always wear protective gear such as gloves and goggles when working with water heaters
Keep the area around the water heater clear of obstructions
Make sure to connect all the necessary safety features such as a pressure relief valve and a temperature and pressure relief valve
Follow the manufacturer’s instruction manual for proper installation and operation
Consult with a professional if necessary
Conclusion
Replacing a water heater may seem like a daunting task, but with the right knowledge and a few simple steps, you can successfully replace a water heater yourself. Before starting, make sure to assess your current water heater and determine what type of water heater is right for you. Allocate your budget and time and gather the necessary tools and materials. Make sure to turn off the gas and water supply and remove the old water heater before installing the new one. Don’t forget to test and adjust your new water heater and keep these tips and tricks in mind to ensure everything is done correctly.
